
Every iPhone in your pocket is capable of photos that rival a dedicated camera, yet most people only ever tap the shutter and hope for the best. The truth is that the hardware has been ready for years — what usually holds a photo back is a handful of small habits around composition, light, and settings. Learn those habits and the same iPhone that takes a flat, forgettable snapshot can just as easily produce a photo you would be proud to print.
This guide walks through the practical, no-nonsense techniques that make the biggest visible difference, from framing a shot before you tap the shutter to knowing when Portrait mode helps and when it gets in the way.
Get to Know Your iPhone’s Camera Modes First
Before worrying about creative technique, it helps to know what each shooting mode is actually built for. Switching modes takes a single swipe, but most people default to the same one regardless of the scene in front of them.
- Photo: The standard, all-purpose mode, and the right starting point for most everyday scenes.
- Portrait: Best for people, pets, and close-up subjects where you want a blurred, professional-looking background.
- Night mode: Activates automatically in low light and lets the sensor gather more detail over a longer exposure.
- Pano: Ideal for wide landscapes, skylines, and interiors that a standard frame can’t fit.
- Cinematic: Adds shifting depth-of-field to video, useful for short clips that need a filmic feel.
Master Composition Before You Shoot
Composition is the single biggest factor separating an average photo from a striking one, and it costs nothing to apply.
Use the Rule of Thirds
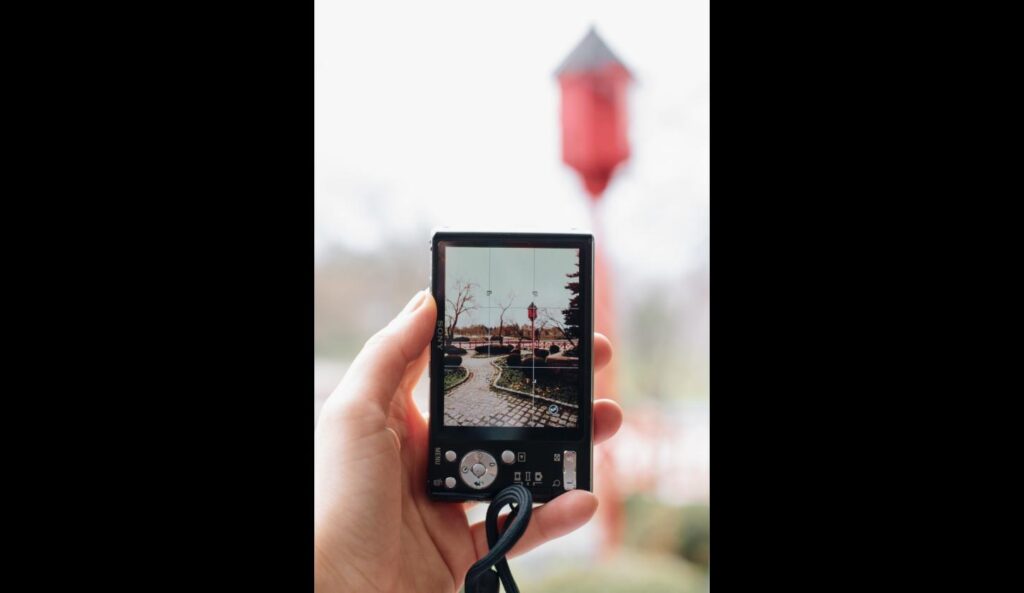
Turn on the grid in Settings, then Camera, then Grid. Placing your subject along one of the intersecting lines rather than dead center almost always produces a more balanced, engaging photo.
Look for Leading Lines
Roads, fences, staircases, and even shadows can draw the eye toward your subject. Position yourself so these lines guide the viewer through the frame instead of cutting across it awkwardly.
Frame Your Subject Naturally
Doorways, tree branches, and archways make excellent natural frames. They add depth and context while keeping attention on the main subject.
Light Is Everything
No amount of editing fully rescues a photo shot in bad light, which is why professionals plan around it rather than fighting it afterward.
Shoot During Golden Hour
The hour after sunrise and before sunset produces soft, warm, flattering light that flattens harsh shadows and adds a natural glow to skin tones and landscapes alike.
Avoid the Built-In Flash When Possible
The iPhone’s flash tends to flatten a scene and create harsh, unnatural shadows. Whenever possible, move closer to a window, a lamp, or simply increase ambient light instead.
Let Night Mode Do the Heavy Lifting
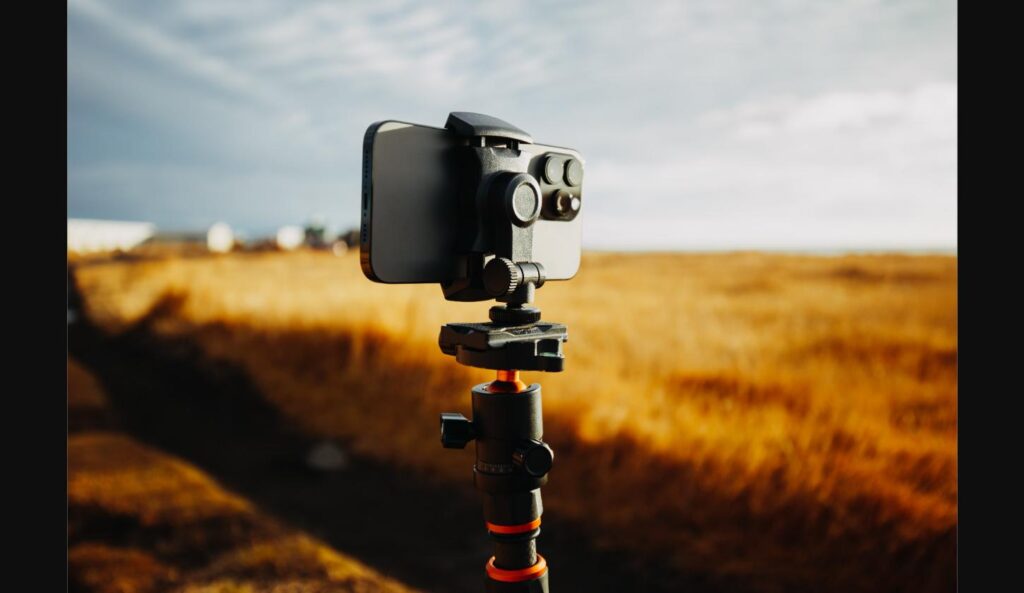
When Night mode activates, keep the phone as still as possible for the duration of the capture, or brace it against a solid surface. The longer exposure rewards stability with noticeably sharper results.
Get the Most from Portrait Mode
Portrait mode’s simulated depth-of-field looks best under the right conditions. Keep your subject a few feet from the background, use even lighting on their face, and avoid extremely bright backgrounds that can confuse the edge detection around hair and glasses. If the blur effect looks unnatural around fine details, try Photo mode instead and add a shallower depth-of-field edit afterward.
Quick Reference: Best Mode for the Scene
| Scene | Recommended Mode | Extra Tip |
|---|---|---|
| Portraits and pets | Portrait | Keep subject 3–6 feet from background |
| Landscapes and skylines | Pano or standard Photo | Shoot during golden hour |
| Low-light interiors | Night mode | Brace the phone against a surface |
| Fast-moving subjects | Burst mode | Hold the shutter button to capture a sequence |
| Architecture and interiors | Photo with grid on | Align verticals with the grid lines |
Keep Your Shots Steady and Sharp
Camera shake is one of the most common causes of a soft, disappointing photo, and it’s also one of the easiest problems to fix.
- Brace your elbows against your body rather than holding the phone at arm’s length.
- Tap the screen to lock focus and exposure on your subject before shooting.
- Use the volume button as a shutter release; it’s often steadier than tapping the on-screen button.
- For anything moving unpredictably, hold down the shutter to shoot in Burst mode and pick the sharpest frame afterward.
If you’re curious how the newest hardware compares, Apple’s own iPhone camera improvements are worth a look, particularly the sensor changes aimed squarely at low-light performance.
Edit Without Overdoing It
A light edit brings out what the camera already captured; a heavy one usually just looks like a heavy edit. In the built-in Photos app, start with Exposure and Brilliance, nudge Contrast slightly, and use Warmth sparingly. Avoid pushing Saturation and Vibrance too far, since skin tones are usually the first thing to look artificial.
If you’re shooting frequently and want to free up room for more high-resolution shots, it’s worth spending a few minutes learning how to clear iPhone storage without losing anything you actually want to keep.
Frequently Asked Questions
Does the newest iPhone always take better photos than an older one?
Sensor and lens improvements help, but composition, lighting, and steady hands make a far bigger visible difference than one generation of hardware over another.
Should I always shoot in HDR?
Modern iPhones apply Smart HDR automatically, and it generally helps in high-contrast scenes. You rarely need to think about it manually.
Is it worth using third-party camera apps?
The native Camera app covers most needs well. Third-party apps are worth exploring only if you specifically want manual control over shutter speed, ISO, or RAW capture.
Why do my night photos still look blurry?
Night mode uses a longer exposure, so even small hand movements during capture will soften the image. Bracing the phone against a wall, railing, or tripod solves this almost every time.
Summary
Great iPhone photos come from a small set of repeatable habits: choosing the right mode for the scene, composing with intention, respecting natural light, and keeping the phone steady when it matters most. None of it requires extra equipment or a technical background.
Conclusion
The next time you raise your iPhone to take a photo, pause for a few extra seconds before tapping the shutter. Check your framing, notice where the light is coming from, and pick the mode built for the scene in front of you. Those few seconds are usually the entire difference between a photo you forget and one you actually want to keep.